Setting Up Central/Remote Git Repository in Bitbucket
So far we have covered basics of Git and Git installation, lets expand our knowledge for UI (user-interface) provided by Atlassian for Git.
Distributed Version Control System: Git
Git Installation for Windows and Linux
What is Bitbucket –
Bitbucket is a Git solution for professional teams. In simple layman language its a UI for Git, offered by Atlassian. Bitbucket offering are available in two modes:
1.) Host in the cloud: free for small teams (till 5 users) and paid for larger teams.
2.) Host on Your server: One-Time pay for most solutions.
For Pricing details check “BitBucket Pricing”
Creation of free Bitbucket Account on Cloud Host –
1.) Visit “https://bitbucket.org/” and click “Get Started” to sign up for free account.
2.) Complete the signup process by providing email address, account name and password.
3.) Once done verify your email account to start with Bitbucket.
Creation of First Repository –
1.) The Bitbucket repository will be the central repository for your projects/organization depending upon permissions you have granted to the users.
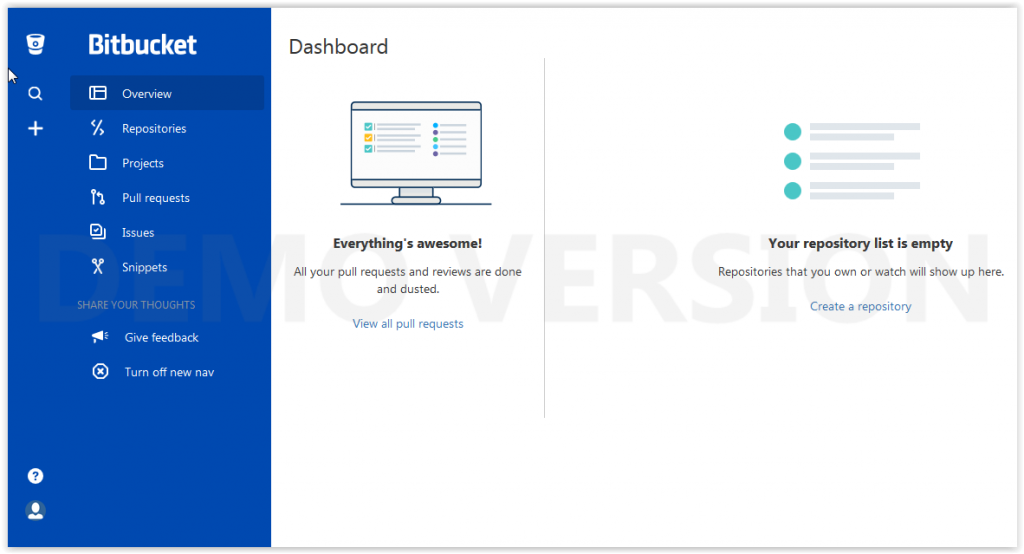
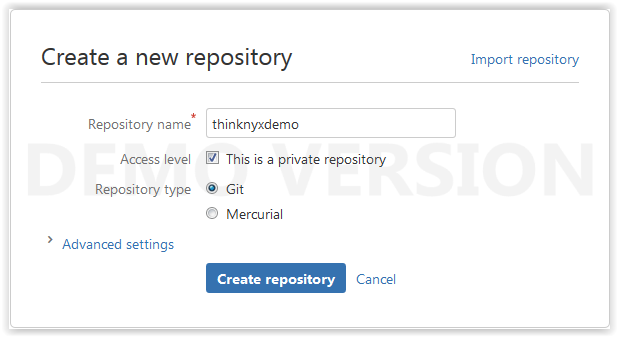
2.) From BitBucket Dashboard, click Repositories and create a repository. Make a note that we cannot change Repository Type once its created.
3.) Take a look at the repository overview section.
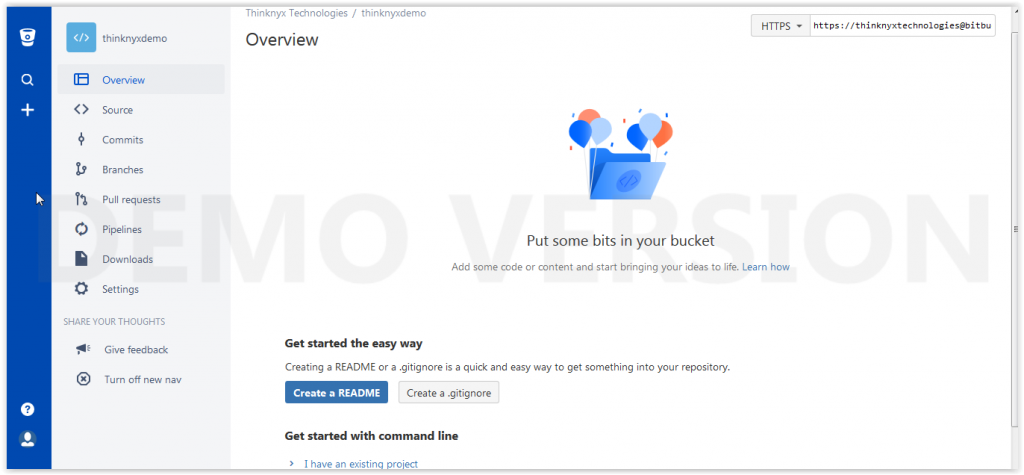
4.) Explorer different tabs in Bitbucket UI.
Note: This is our first empty Git Repository, you will see a link “I’m starting from scratch” which will help to get started with Git and Bitbucket.
In our next post we will clone this repository locally, create/perform changes in codes/files and perform various Git operations (add, commit, push, pull, merge etc.).